

An Adminer instance left running on an open address is one of the quieter ways to lose a database. Someone deploys the single PHP file to check a table, the URL works, and the file stays there for months until an out-of-date copy turns into an attack surface. That failure mode is why this guide on how to install Adminer on a Linux VPS gives as much space to locking the tool down as to getting it running.
Adminer is a single PHP file (about 503 kB in the full build) that speaks MySQL, MariaDB, PostgreSQL, SQLite, and several other databases. It is trivial to deploy, which is exactly why it often gets deployed carelessly.
You will install it on a modern Ubuntu or Debian VPS with Nginx and PHP-FPM, add HTTP authentication, an IP allowlist, and HTTPS with Let's Encrypt, and finish with a clear rule for when to skip the public setup entirely and reach Adminer over an SSH tunnel instead.
TL;DR
- Adminer is one PHP file you download into a webroot with
wget; Nginx plus PHP-FPM serve it. - A public Adminer instance needs all three: an HTTP authentication layer, an IP allowlist, and HTTPS. Any one of them alone is not enough.
- For the most sensitive databases, do not expose Adminer at all: bind it to
localhostand reach it through an SSH tunnel. - Updating is one command: re-run the
wgetdownload. Recent security releases make keeping it current a real operational task, not a nicety.
Prerequisites: What You'll Need Before Installing
This guide targets Ubuntu 26.04 and 24.04 plus Debian 13, with compatibility notes for Ubuntu 22.04 and Debian 12. The default PHP-FPM versions are 8.5 on Ubuntu 26.04, 8.3 on Ubuntu 24.04, 8.4 on Debian 13, 8.2 on Debian 12, and 8.1 on Ubuntu 22.04.
- A Linux VPS running Ubuntu 22.04, Ubuntu 24.04, Ubuntu 26.04, Debian 12, or Debian 13, with a user that has
sudoaccess. - A database server (MySQL, MariaDB, or PostgreSQL) already running, either on this VPS or one Adminer can reach over the network. This guide does not install a database; it installs the tool you use to administer one.
- PHP-FPM from the operating system's supported repositories. Although Adminer's compiled file supports PHP 5.3+, use the current distro-provided version listed above rather than installing an obsolete PHP release.
- For the public HTTPS setup, you need a hostname resolving to the VPS and inbound TCP ports 80 and 443 available. The Certbot Nginx workflow uses HTTP-01 validation on port 80. Let's Encrypt now supports short-lived IP-address certificates, but Certbot does not automatically install them through its Nginx workflow, so this guide uses a hostname.
Note: This guide uses Nginx by design. If you run Apache, the download and hardening logic still apply, but the server-block configuration below does not.
Install Nginx and PHP-FPM
Start by refreshing the package index and installing Nginx and PHP-FPM together with the PHP database extension your server needs:
sudo apt update
sudo apt install -y nginx php-fpm php-mysql
For a PostgreSQL backend, install php-pgsql instead of, or alongside, php-mysql:
sudo apt install -y php-pgsqlConfirm that the PHP-FPM socket exists:
ls /run/php/Match the socket filename to the version listed above, for example, php8.5-fpm.sock on Ubuntu 26.04, php8.3-fpm.sock on Ubuntu 24.04, or php8.4-fpm.sock on Debian 13. If the expected socket is missing, check the matching service with systemctl status php8.5-fpm, replacing 8.5 with the version installed on your OS.
Pro Tip: A socket mismatch is one possible cause of a
502 Bad Gateway. Matchfastcgi_passto the filename under/run/php/, confirm that the corresponding PHP-FPM service is running, and check/var/log/nginx/error.logif the error remains.
Download Adminer
Create a directory to serve Adminer from, then download the single file into it. The latest.php URL always resolves to the current stable release:
sudo mkdir -p /var/www/adminer
sudo wget -O /var/www/adminer/adminer.php https://www.adminer.org/latest.php
If you only work with MySQL or MariaDB, the MySQL-only build is smaller (about 406 kB) and fetched the same way:
sudo wget -O /var/www/adminer/adminer.php https://www.adminer.org/latest-mysql.phpKeep the Adminer directory root-owned while giving PHP-FPM read access:
sudo chown -R root:root /var/www/adminer
sudo chmod 755 /var/www/adminer
sudo chmod 644 /var/www/adminer/adminer.php
You do not need to track the version number: the latest.php URL means re-running the download is also your update path, which the maintenance section returns to.
Configure the Nginx Server Block
Create a server block that serves the Adminer directory and passes .php requests to the PHP-FPM socket you identified earlier. Open a new site file:
sudo nano /etc/nginx/sites-available/adminerPaste the following, replacing db.example.com with the hostname already pointed at your VPS and confirming that the fastcgi_pass socket matches your PHP version:
# /etc/nginx/sites-available/adminer
server {
    listen 80;
    server_name db.example.com;
    root /var/www/adminer;

    location = / {
        return 302 /adminer.php;
    }

    location = /adminer.php {
        include snippets/fastcgi-php.conf;
        fastcgi_pass unix:/run/php/php8.3-fpm.sock;
    }

    location / {
        return 404;
    }
}
Enable the site by symlinking it into sites-enabled, then test the configuration without reloading Nginx yet:
sudo ln -s /etc/nginx/sites-available/adminer /etc/nginx/sites-enabled/
sudo nginx -t
nginx -t should report that the syntax is valid and the test is successful. Do not reload Nginx yet because the site does not have authentication or an IP restriction. Continue through those two hardening steps; the IP-restriction step performs the first reload after both protections are in place.
Lock It Down: Authentication, IP Restriction, and HTTPS
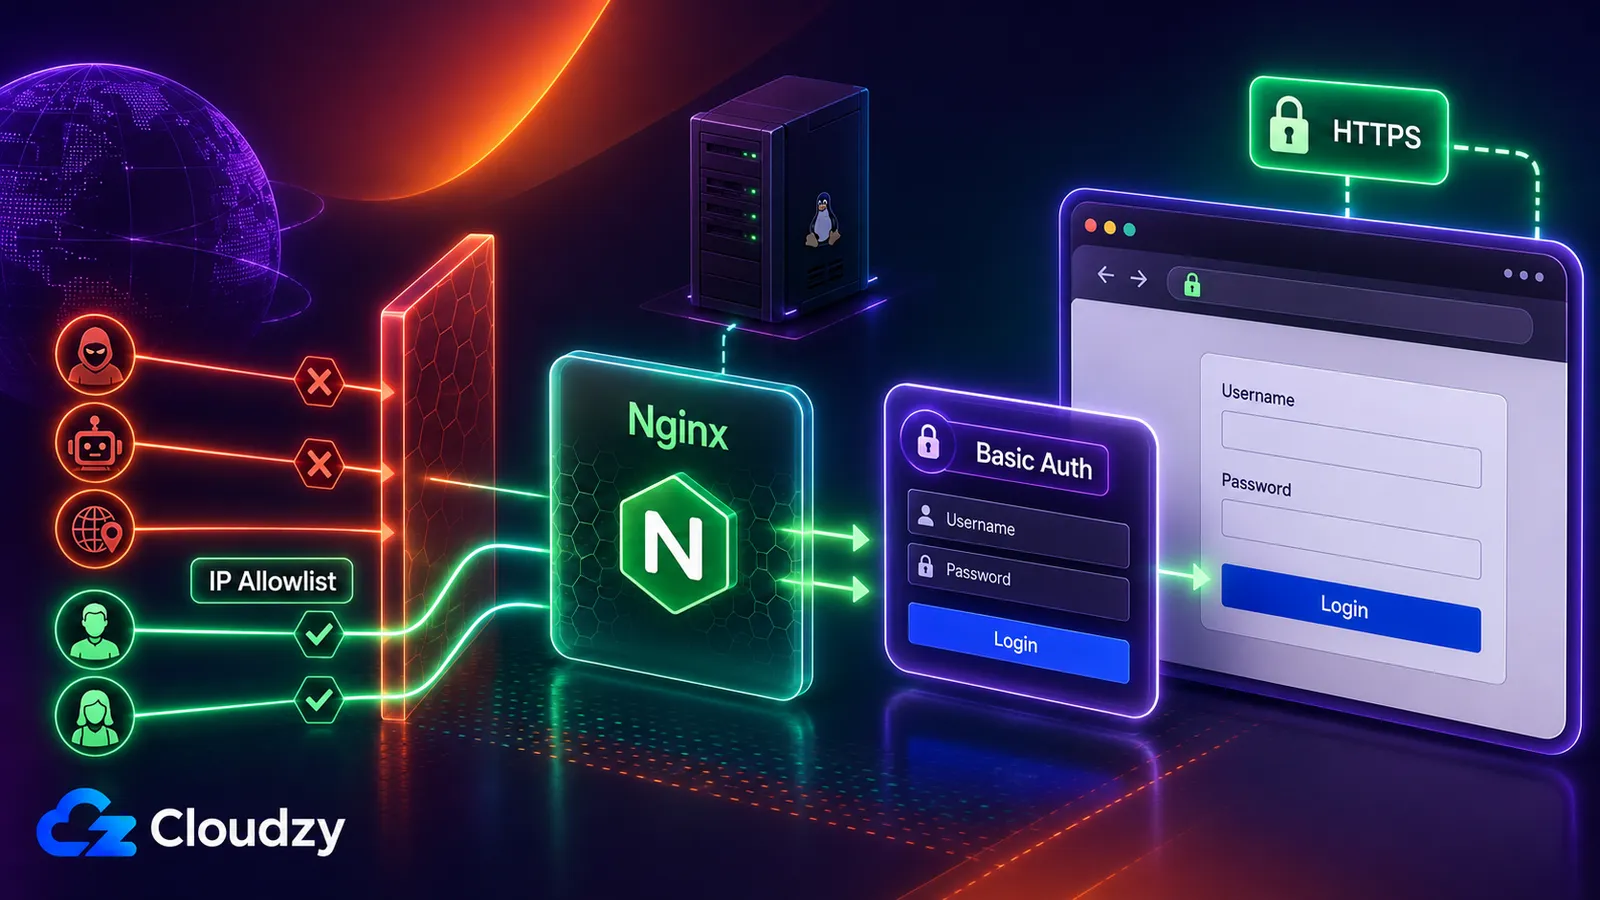
A public Adminer instance sits directly in front of your database credentials, so it needs layered defenses rather than a single lock. The three layers below do different jobs: HTTP authentication stops anyone without a password at the web server, the IP allowlist stops anyone connecting from an address you have not approved, and HTTPS keeps the credentials you type from crossing the network in plaintext. Add all three. None of them substitutes for the others.
Add HTTP Basic Authentication
Install the htpasswd utility, which ships in the apache2-utils package on Ubuntu and Debian:
sudo apt install -y apache2-utilsCreate a password file and a user (you will be prompted for the password):
sudo htpasswd -B -C 10 -c /etc/nginx/.htpasswd adminuser
sudo chown root:www-data /etc/nginx/.htpasswd
sudo chmod 640 /etc/nginx/.htpasswd
Add the directives to the exact Adminer PHP location so the PHP request itself is protected:
location = /adminer.php {
    auth_basic           "Restricted";
    auth_basic_user_file /etc/nginx/.htpasswd;
    include snippets/fastcgi-php.conf;
    fastcgi_pass unix:/run/php/php8.3-fpm.sock;
}
Both directives are documented in the Nginx HTTP auth_basic module reference. Run sudo nginx -t to validate the configuration, but do not reload Nginx yet; the IP allowlist is added next. Do not submit the Basic Auth credentials over plain HTTP; wait until HTTPS is enabled below.
Restrict Access by IP Address
Basic authentication blocks unauthenticated users, but Nginx still receives requests from every source. Replace the existing Adminer PHP location with the following combined block so the IP rules and Basic Auth directives remain in one location:
location = /adminer.php {
    satisfy all;

    allow                203.0.113.10;
    allow                203.0.113.0/28;
    deny                 all;

    auth_basic           "Restricted";
    auth_basic_user_file /etc/nginx/.htpasswd;
    include snippets/fastcgi-php.conf;
    fastcgi_pass unix:/run/php/php8.3-fpm.sock;
}
Replace the example addresses with your actual public IP address or trusted network range. Keep only the allow entries you need and delete any unused examples. The first entry demonstrates a single address, while the second demonstrates a CIDR range. Nginx returns 403 Forbidden to addresses that do not match an allow rule. The Nginx access module reference documents the directive syntax. Test and reload Nginx:
sudo nginx -t && sudo systemctl reload nginxEnable HTTPS with Let's Encrypt
With a domain pointed at the VPS, install Certbot and its Nginx plugin, then request a certificate:
sudo apt install -y certbot python3-certbot-nginx
sudo certbot --nginx -d db.example.com
Certbot edits your server block to serve HTTPS on port 443 and offers to redirect HTTP to HTTPS; accept the redirect. It also installs a renewal timer, so the certificate renews automatically before it expires. You can confirm the renewal path with sudo certbot renew --dry-run, which should complete without errors.
Now visit https://db.example.com/adminer.php from an allowed address and confirm that Nginx requests the Basic Auth credentials before Adminer loads.
Choosing Your Access Model: Public HTTPS vs. SSH Tunnel
The setup above is appropriate when you need browser access to a database from several machines or when opening an SSH session is impractical. It is not the only model, and for a sensitive database it is not the most defensive one.
For sensitive setups, do not expose Adminer publicly. Adminer's upstream security guidance recommends making it inaccessible from the public internet whenever possible. If you choose tunnel-only access, replace the public Nginx server block with this loopback-only configuration and skip the public HTTPS setup:
# /etc/nginx/sites-available/adminer
server {
    listen 127.0.0.1:8080 default_server;
    server_name _;
    root /var/www/adminer;

    location = / {
        return 302 /adminer.php;
    }

    location = /adminer.php {
        auth_basic           "Restricted";
        auth_basic_user_file /etc/nginx/.htpasswd;
        include snippets/fastcgi-php.conf;
        fastcgi_pass unix:/run/php/php8.3-fpm.sock;
    }

    location / {
        return 404;
    }
}
Test and reload the replacement configuration:
sudo nginx -t && sudo systemctl reload nginxThen open the tunnel from your own machine:
ssh -N -L 127.0.0.1:8080:127.0.0.1:8080 user@your-server-ipWith the tunnel running, open http://127.0.0.1:8080/adminer.php. Nginx accepts Adminer connections only through the VPS loopback interface, while SSH carries the traffic through its encrypted connection. This uses the behavior described in the OpenSSH local-forwarding documentation.
Use the public HTTPS, Basic Auth, and IP-allowlist setup when you need direct browser access from multiple machines. Prefer the loopback-only SSH setup when public access is unnecessary.
Key takeaway: The most secure Adminer is the one that is never reachable from the public internet.
Keeping Adminer Updated
The forgotten instance is the real risk here, and it is worth treating as a scheduled task rather than an afterthought. Updating Adminer is one command, the same wget command you used to install it, because latest.php always fetches the current release:
sudo wget -O /var/www/adminer/adminer.php https://www.adminer.org/latest.phpThis is not a theoretical concern. Adminer 5.4.3, released July 9, 2026, addressed seven GitHub Security Advisories in a single release. The earlier advisory for CVE-2026-25892 showed that even Adminer's version-check endpoint could be turned into an unauthenticated denial-of-service vector; the issue was fixed in version 5.4.2. An outdated copy accumulates publicly documented vulnerabilities, so updating it should be routine maintenance.
Note: Stay on the current upstream Adminer release. The AdminerEvo repository was archived in January 2025 and is not an actively maintained alternative.
Deploying on a VPS
If you would rather skip the manual steps, Adminer is available as a one-click deployment in the Cloudzy marketplace on a Cloudzy Linux VPS. The marketplace image uses Apache, Basic Auth, and a self-signed certificate, so it is different from the Nginx, IP-allowlist, and Let's Encrypt stack above. Review those security differences before entering production database credentials.
Adminer's own footprint is negligible; the database drives your sizing. Choose CPU, memory, and storage based on the database's data and index size, query load, connection count, backups, and expected growth rather than Adminer itself.
Frequently Asked Questions
Is Adminer Safe to Expose Publicly on a VPS?
Not on its own. If you must expose Adminer publicly, place it behind HTTP Basic Authentication, an IP allowlist, and HTTPS together. These controls reduce the risk but do not make public exposure risk-free. For sensitive databases, bind Adminer to localhost and reach it through an SSH tunnel instead.
How Do I Access Adminer Without Exposing It to the Internet?
Configure the loopback-only Nginx server block shown above so Adminer listens on 127.0.0.1:8080, then run ssh -N -L 127.0.0.1:8080:127.0.0.1:8080 user@your-server-ip on your own machine. Open http://127.0.0.1:8080/adminer.php while the tunnel is running.
Can Adminer Connect to PostgreSQL as Well as MySQL?
Yes. Adminer supports MySQL, MariaDB, PostgreSQL, SQLite, MS SQL, and Oracle out of the box, with more databases available through plugins. Install the matching PHP extension for your database, for example php-pgsql for PostgreSQL, so PHP can talk to it.
How Do I Keep Adminer Updated?
Re-run the download command: sudo wget -O /var/www/adminer/adminer.php https://www.adminer.org/latest.php. The latest.php URL always returns the current stable release, so this overwrites your copy with the newest version. Recent security releases make this worth doing on a schedule rather than only when you remember.
Should I Install Adminer via the apt Package or Download It Directly?
Download the single file directly. It gives you the current version immediately and makes updates a one-line command, whereas a distribution package can lag behind the upstream release. The direct file is the same tool with a shorter path to the latest security fixes.





Discussion
Comments
Sign in to join the discussion.